The following will demonstrate how to change WordPress theme, some html & CSS coding and install google analytics.
1. Change WordPress Theme
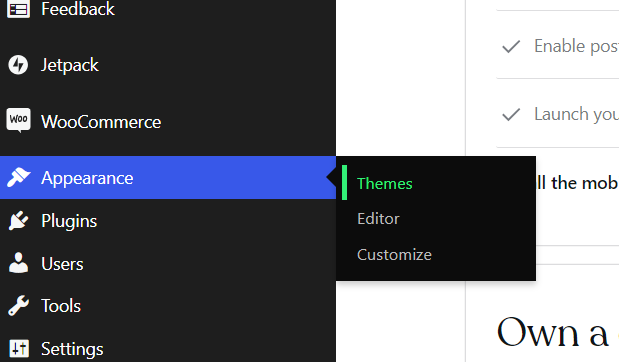
To change the theme on your site, you will go to WordPress dashboard and click Appearance » Themes. There are many available WordPress themes that you can install for free or paid premiums. You can learn more what to consider when choosing a theme.
2. Example use of HTML tags to define content on a blog post
- The bold tag is <strong>my example</strong>
- Headings <h2>my heading</h2>. There are different headings used in documents, from h1 to h6, depending on your content.
- Paragraphs <p>
- Blockquotes <blockquote>statement</blockquote>
- Line break <br>
- Horizontal line <hr>
- Links <a href="/fr/”http://www.mypage.com/”/" title="”description”">anchor text</a>
<strong>my example</strong>
<h2>my heading</h2>
<p>Paragraphs separated<p>
<p>Paragraphs separated<p>
<blockquote>statement</blockquote>
<br>Line break <br>
<hr>Horizontal line <hr>
<a href="https://www.senecapolytechnic.ca">Seneca Polytechnic</a>
Code for the above picture
<img src="https://easynestle.com/wp-content/uploads/2024/10/wordpess.png" alt="" class="wp-image-92" style="width:355px;height:auto"/>3. How to create an Ordered or Unordered list
Lists <li>lists</li>
To make a list with the names Kevin, John, and Derrick, you simply use the tags <li> tags. However, you need to remember your list format, which uses the tags <ul></ul>, which defines bulleted lists, or <ol></ol>, which contains numbered lists. You must use these tags before and after the names and their tags.
For unordered lists:
<ul>
<li>John</li>
<li>Kevin</li>
<li>Derrick</li>
</ul>- John
- Kevin
- Derrick
For ordered lists:
<ol>
 <li>Kevin</li>
 <li>John</li>
 <li>Derrick</li>
</ol>- John
- Kevin
- Derrick
4. Creating H1 and H2
There are different headings used in documents, from h1 to h6, depending on your content. The headings provide a great way to categorize the content on your blog. This makes it very easy to understand and read. The headings tags are very easy to implement on your blog.
Headings – H2

<h2>my heading</h2>Headings – H1

<h1>my heading</h1>5. Placing emphasis on a word or sentence using “em”
The italic tag is <em>my example</em>.
my example
<em>my example</em>6. Use of Custom Cascading Style Sheets (CSS) on WordPress
Adding custom CSS allows you to change your website’s layout and appearance beyond the standard options. It lets you personalize everything from fonts and colors to spacing and animations, giving you complete creative control. We learn CSS on WordPress through the tutorial.
First, you’ll need to head over to the Appearance » Customize page from your WordPress dashboard.

This will launch the WordPress theme customizer interface.
On this page, you can see your site’s live preview with a bunch of customization options on the left panel. Simply click on the ‘Additional CSS’ tab to start editing.

The tab will slide to show you a simple box where you can add your custom CSS. As soon as you add a valid CSS rule, you will be able to see it applied on your website’s live preview panel.
Example of CSS:

This is a paragraph.<html lang="”en”">
<head>
<link rel=”stylesheet” href=”style.css” />
<title>Browser</title>
<style>
p {
color: red;
font-size: 20px;
background-color: yellow;
}
</style>
</head>
<body>
<p>This is a paragraph</p>
</body>
</html>
7. Installing Google Analytics
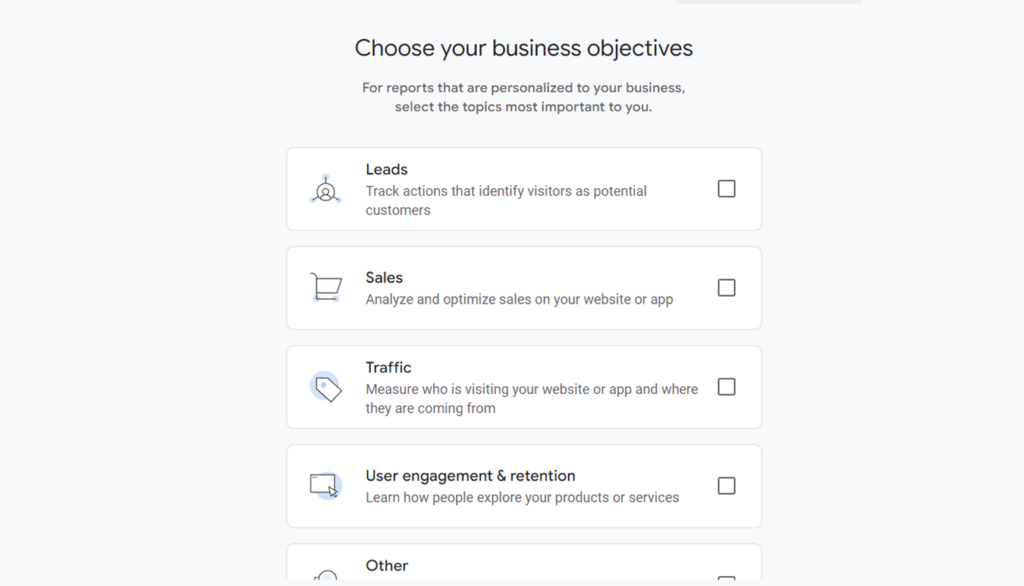
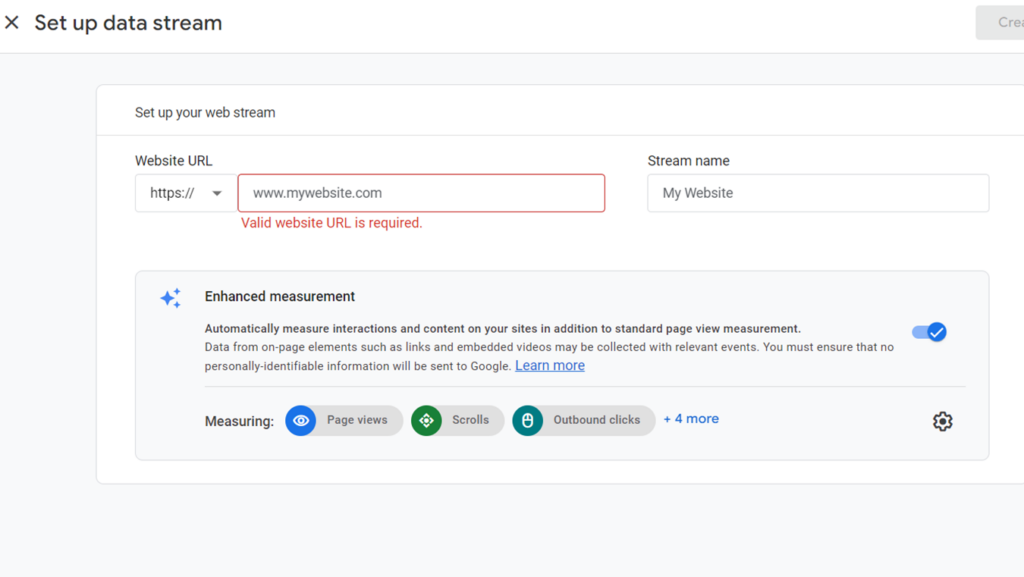
First Step is to create google analytics account through the following steps.
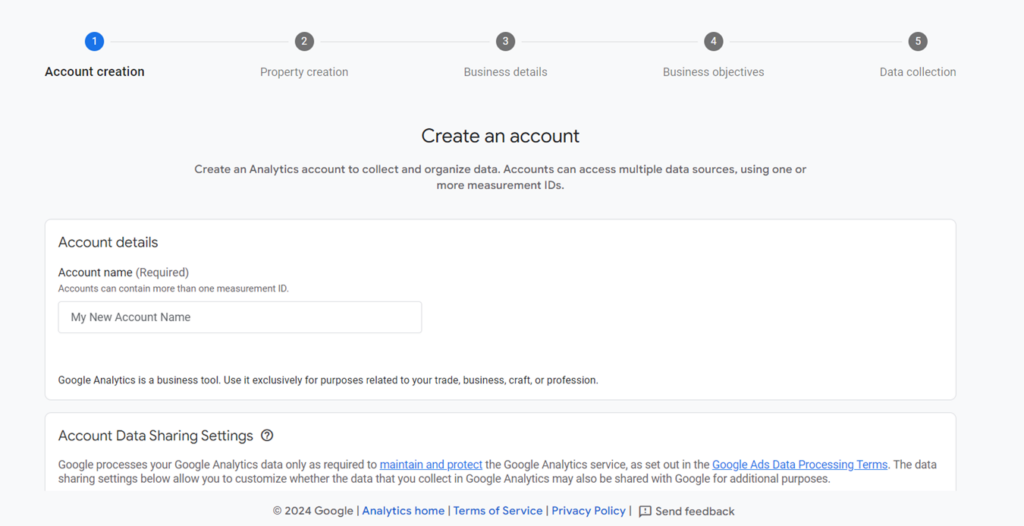
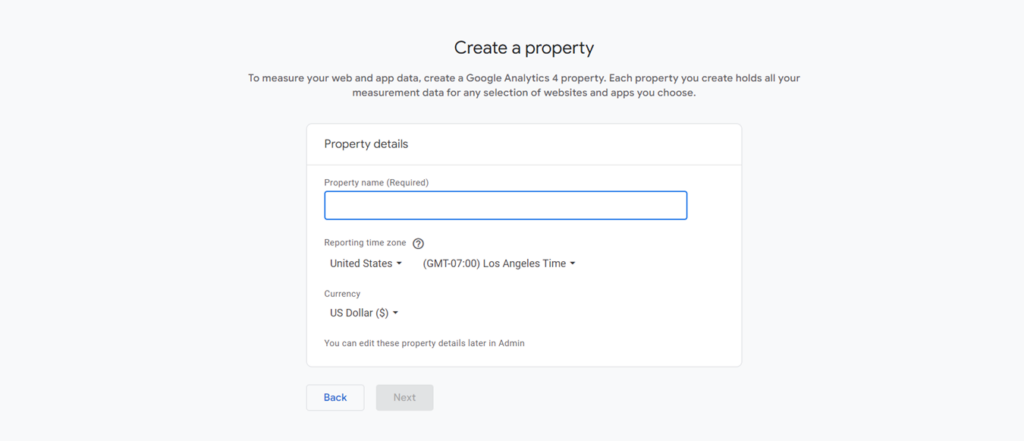
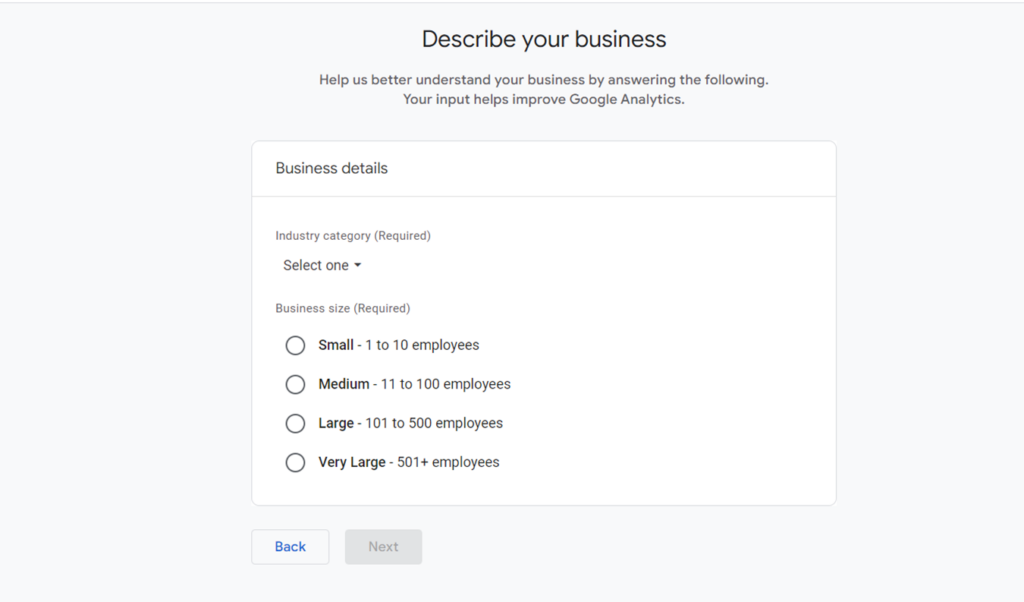
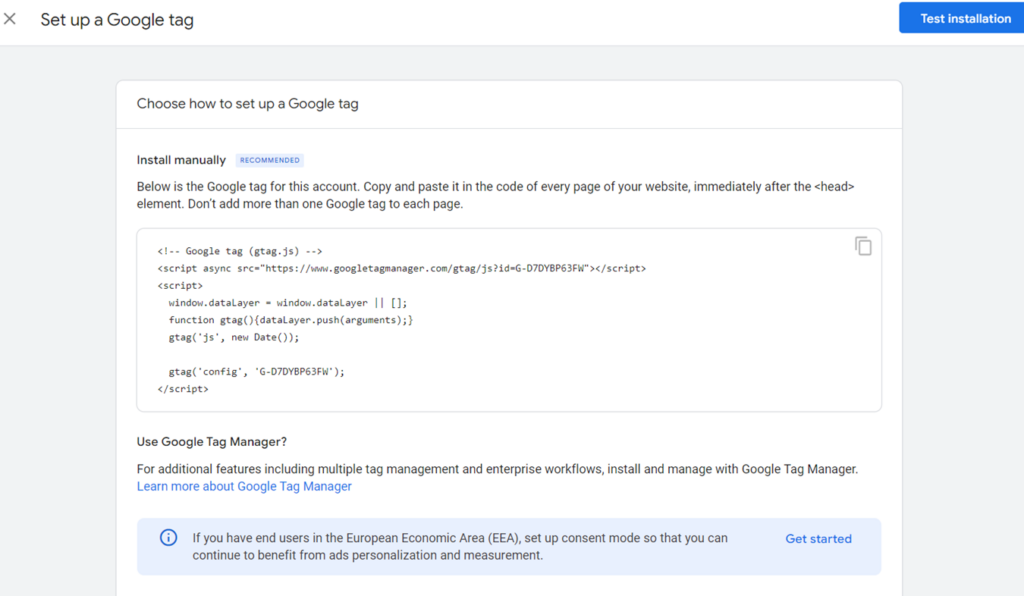
We can Install Google Analytics using Plugins which is simplest way. Monsterinsights is the preferred plugin to be used to install google analytics and the google analytics will show up on WordPress Dashboard. Below are the steps to install the plugin.
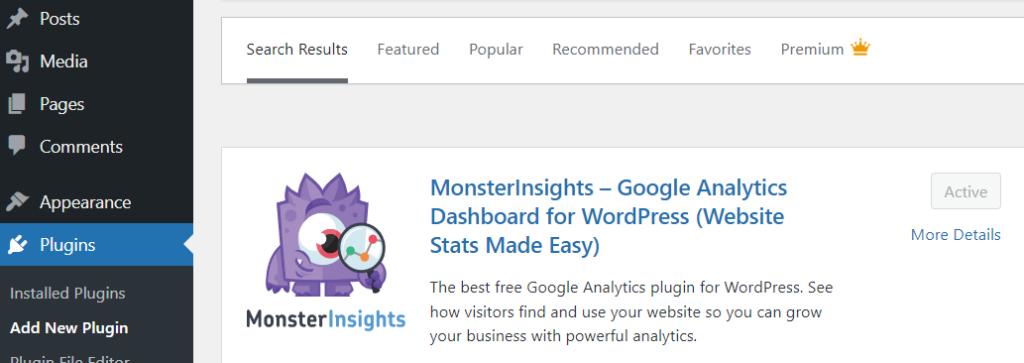


Then I will be taken into choosing which google account that you would like to sign in.


